
Joint Protection Techniques for Arthritic Hands
TL;DR
- Joint protection techniques are learnable habits that reduce stress on painful arthritic hands without forcing you to give up the tasks you value.
- The core principles are to respect pain, use larger and stronger joints, reduce force, balance rest with activity, and keep joints in neutral positions.
- They apply especially well in the kitchen through two-handed grips, lightweight cookware, and adapted openers.
- An occupational therapist can teach these alongside energy conservation and advise on splints.
When arthritis makes opening a jar or holding a cup painful, joint protection techniques offer a better answer than giving those tasks up for good. They are learnable habits, not a list of activities to abandon. This guide walks through the core principles for rheumatoid arthritis hand pain, then shows how they apply in the kitchen.
What Joint Protection Actually Means
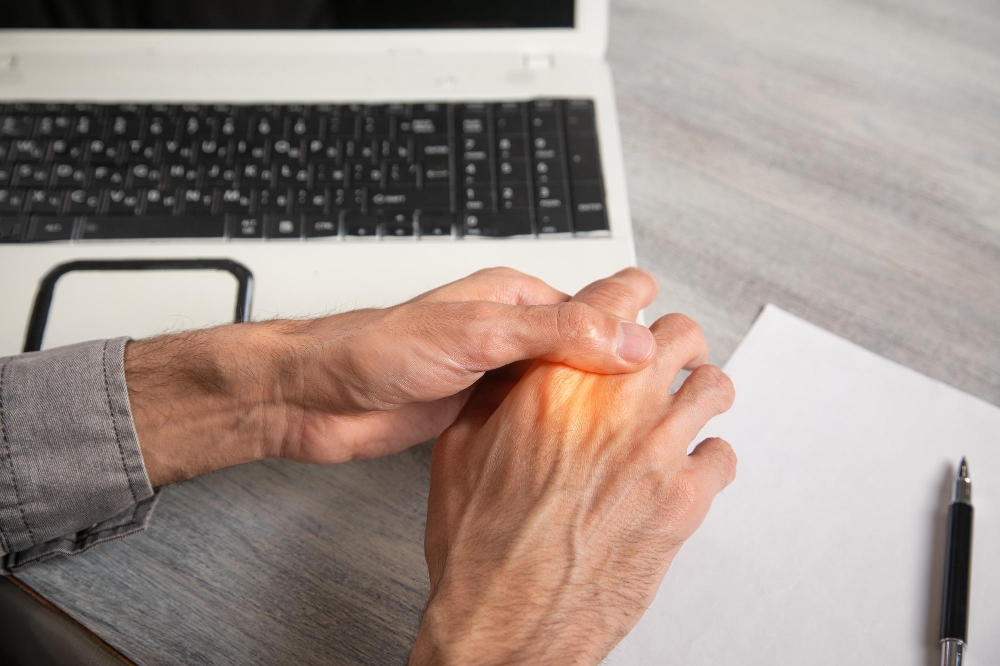
Joint protection is a set of techniques and habits that reduce stress on painful joints during daily tasks. Joint protection means adjusting your “style of life” rather than giving things up. With practice, these adjustments become second nature instead of a constant conscious effort. The goal is to reduce pain and slow further joint damage while keeping you active, not to restrict what you do.
Principle 1: Respect Pain
Pain is a signal, not something to push through. Discomfort during or after an activity means a joint is under too much stress. A useful guide from stgeorges.nhs.uk: if pain lingers beyond about an hour after a task, that activity was likely too demanding for that joint. This applies to both exercise and everyday tasks, so ease off and adjust how you work. Mild aching that settles quickly is less concerning than lingering pain.
Principle 2: Use Larger, Stronger Joints
Shift load onto your bigger joints wherever you can. A widely cited example is pushing a door open with your forearm or shoulder instead of your fingers. The same thinking applies to carrying: use your forearm or a backpack rather than gripping handles with your fingers. The principle covers lifting, pushing, and carrying throughout the day. Using both hands for a load also spreads the force more evenly.
Principle 3: Reduce Effort and Force
The less force a task demands, the less your joints absorb. Assistive devices such as jar openers and built-up grips cut the effort a task requires. Avoid tight gripping or hard pinching where a looser hold will do the job just as well. Let the right tools do the work your joints would otherwise take on. This reflects the effort-reduction principle in esht.nhs.uk’s joint protection leaflet.
Principle 4: Balance Rest and Activity
Pacing keeps you going without flaring symptoms. Rather than completing demanding tasks all at once, spread them across the day. Rest before you are fully fatigued, not after you have already overdone it. On lower-energy days, prioritize which tasks matter most and let the rest wait. Alternating heavier and lighter jobs gives your hands a chance to recover. St George’s hand therapy guidance recommends this balance for daily routines.
Principle 5: Keep Joints in a Stable, Neutral Position
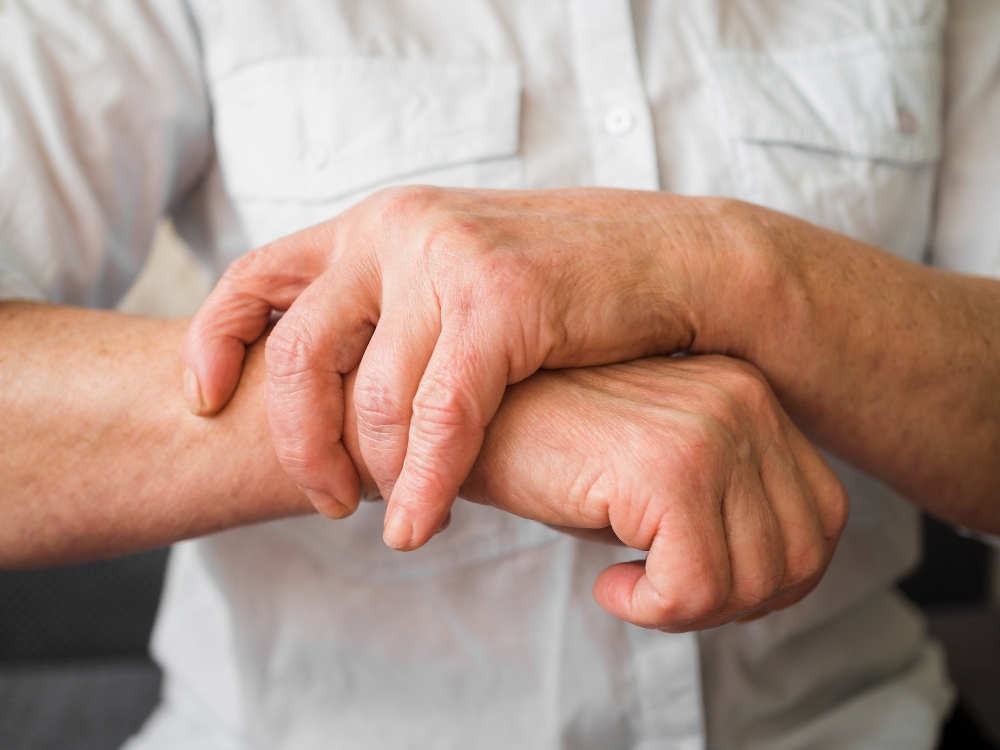
Twisting and awkward positions push extra force through a joint. Keeping joints stable and neutral, and avoiding deformed positions, helps limit that strain. At rest, support your hands in a comfortable, aligned position rather than letting them curl or bend. Avoiding repeated deforming positions helps limit the long-term joint changes that arthritis can bring. Small adjustments to posture and grip make this easier.
Applying These Principles in the Kitchen
The kitchen is where these ideas get practical. Lift pots with a two-handed grip or your forearm instead of a pinch grip on a single handle. Choose lightweight cookware, and let jar or tin openers absorb high-torque tasks. A stable, non-slip cutting surface steadies food so your other hand applies less stabilizing force. Arthritis-friendly kitchen tools quietly reduce the effort in each step. Start with the task that bothers your hands most.
Splints and When They're Used
Splints support a joint in a helpful position to ease strain during specific tasks or while resting. An occupational therapist or hand therapist usually fits and recommends them after assessing your individual needs, rather than choosing them off a shelf. They work alongside the behavioral joint-protection principles above, not instead of them. Fit is checked over time, since swelling and needs can change.
Common Mistakes People Make With Joint Protection
A few habits quietly undo good intentions:
- Pushing through pain because a task "needs" to get done right now.
- Gripping tightly out of old habit even after switching to an adaptive tool.
- Treating joint protection as a one-time lesson rather than an ongoing habit you keep refining.
Noticing these patterns is half the work. Joint protection rewards steady, repeated practice. A quick weekly check on which tasks still hurt keeps habits on track.
Energy Conservation Techniques for Arthritis
Joint protection and energy conservation are usually taught together, and for good reason: both aim to preserve function over the long term, not just get through today's task. Energy conservation means pacing activity and rest so you do not burn through your reserves by midday. An occupational therapist can teach both as one combined daily strategy tailored to your routine and priorities. Ask how to apply both to your own day.
Conclusion
The heart of joint protection techniques comes down to a handful of principles: respect pain, use larger joints, reduce force, balance rest and activity, and keep your joints in neutral positions. None of them ask you to give up the tasks you value. With practice, and ideally with guidance from an occupational therapist, they become second nature rather than something you have to think about. Most hand therapy leaflets group joint protection techniques into five or six principles, but you do not need to master them all at once. Start with respecting pain, since it guides every other choice, then add one change each week, such as pushing doors with your forearm or switching to a jar opener. Small, repeated changes are easier to keep than a complete overhaul of your routine. Your occupational therapist can suggest which change to start with. Planning helps as much as tools. Gather ingredients before you start so you are not reaching mid-task, sit on a high stool for longer preparation, and slide heavy pans along the counter instead of lifting them. On stiffer days, choose recipes with less chopping or use pre-cut vegetables. Filling a pan at the stove with a small jug avoids carrying a full, heavy pot from the sink. Resting forearms on the counter while stirring eases wrist strain. Joint protection devices go well beyond the kitchen. Long-handled shoehorns and button hooks ease dressing, thick-barreled pens reduce writing strain, key turners add leverage to small keys, and lever taps or tap turners remove the need to twist. An occupational therapist can suggest which assistive devices for arthritis suit your specific tasks, so you invest only in items you will actually use every day. Many are inexpensive, so it's easy to try one or two first. Splints generally fall into two groups: resting splints, often worn at night to hold the wrist and fingers in a comfortable position, and working splints, worn during tasks that strain the hand. Your therapist will explain how long to wear each one. If a splint rubs, causes numbness, or increases rheumatoid arthritis hand pain, stop wearing it and ask your therapist to review the fit. Keep splints clean and dry, and bring them to follow-up appointments. Energy conservation turns pacing into practical habits. Sit for tasks you would normally stand for, keep frequently used items within easy reach, and break big jobs like cleaning into short sessions across the week. Many therapists teach a simple plan-pace-prioritize approach. Because tired muscles support joints less well, these energy-conservation techniques directly support joint protection. Planning the week ahead also helps you spread demanding tasks across several days. Beyond pain that lingers after a task, watch for joints that look more swollen or feel warmer than usual, stiffness that lasts longer the next morning, and tasks needing noticeably more effort than last week. These signs suggest the load was too high. With rheumatoid arthritis hand pain, note what you did before the flare so you can adjust your technique, pacing, or tools next time. If these signs keep returning, mention them to your occupational therapist.Frequently Asked Questions